Painting Kettlebell
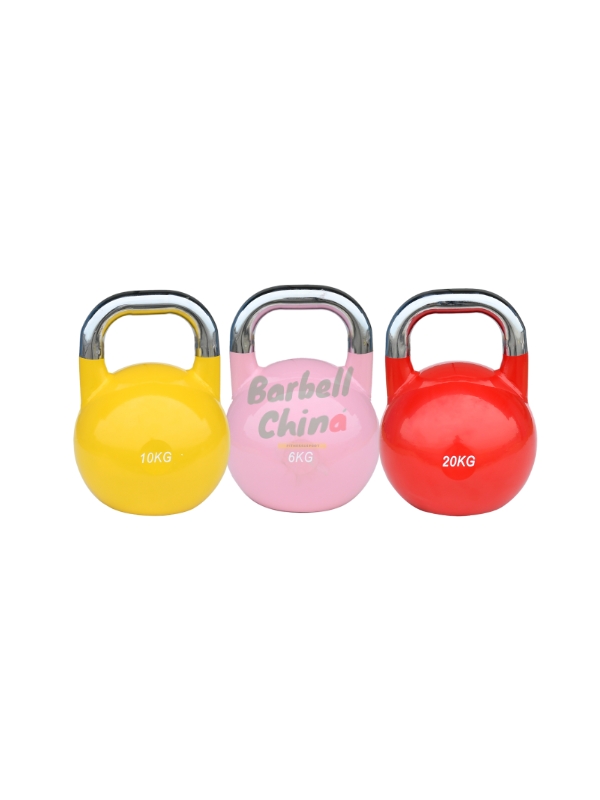
Size :4/6/8/10/12/14/16/20/24/28/32/36
/40/44/48/52/56/60/68/80/92/100KG
Description
Painting a kettlebell can be a fun and creative way to personalize your equipment or add some flair to your workout space. However, it’s important to note that painting a kettlebell may affect its grip and texture, so it’s recommended to proceed with caution and take the following factors into consideration:
-
Surface Preparation: Before painting the kettlebell, it’s crucial to prepare the surface properly. Start by thoroughly cleaning the kettlebell to remove any dirt, oil, or residue. You can use a mild detergent and water to clean the surface. Once clean, wipe it dry and ensure there is no moisture left.
-
Sanding: To create a suitable surface for the paint to adhere to, lightly sand the kettlebell using fine-grit sandpaper. This will help remove any existing coating, roughen up the surface, and improve the paint’s adhesion. After sanding, wipe away any dust using a cloth.
-
Primer: Applying a primer to the kettlebell is highly recommended as it helps the paint adhere better and provides a more durable and long-lasting finish. Choose a primer that is suitable for metal surfaces, and follow the manufacturer’s instructions for application. Allow the primer to dry completely before proceeding to the next step.
-
Paint: Choose a high-quality paint that is suitable for metal surfaces. It’s recommended to use spray paint for an even and smooth finish. Apply multiple thin coats of paint, allowing each coat to dry according to the manufacturer’s instructions. Ensure that you cover the kettlebell evenly from all angles, including the handle and the bottom.
-
Sealant: Once the paint has dried completely, consider applying a clear sealant or top coat to protect the painted surface from chipping, scratching, or fading. This step is optional but can enhance the longevity of the paint job. Follow the instructions on the sealant product and allow it to dry thoroughly.


Reviews
There are no reviews yet.